On your camera you’ll see a setting for white balance. Ever wondered what this means in photography terms? Read this article to find out.
The first thing to realise is that the colour of light from various light sources is different; fluorescent tubes emit a different colour of light than the sun, and cloudy light is different in colour than the light from a flash. The different colours of light which various light sources emit is called colour temperature, some are warmer and some are cooler.
The human brain adapts to different colour temperatures and sees most light as white i.e. we see the light from the sun and the light from fluorescent bulbs as the same white, however the light from fluorescent tubes actually has a green tinge when compared to sunlight, but your brain automatically corrects for this.
However, your camera sees light exactly as it is. To correct for this it has different white balance settings for use in different lighting conditions. These include daylight, flash, cloudy, fluorescent, shade and more. You should ensure the white balance setting of your camera matches the type of light you are taking photos in. Luckily your camera also has an Auto White Balance setting (Auto WB). This setting is remarkably good at working out the correct white balance in most situations and it can be used in most situations. But, if you find that the colours in your photo don’t match what you are looking, it could be due to an incorrect white balance being used.
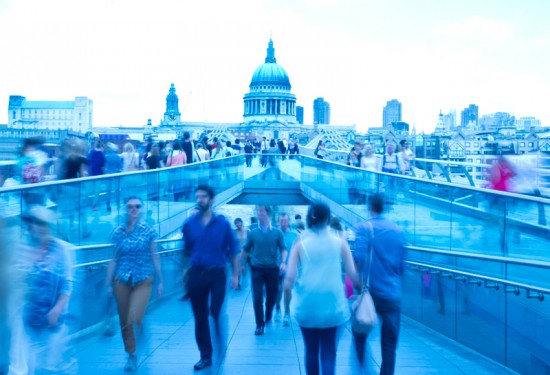
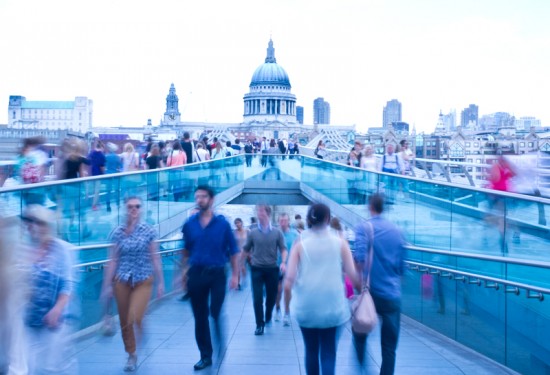
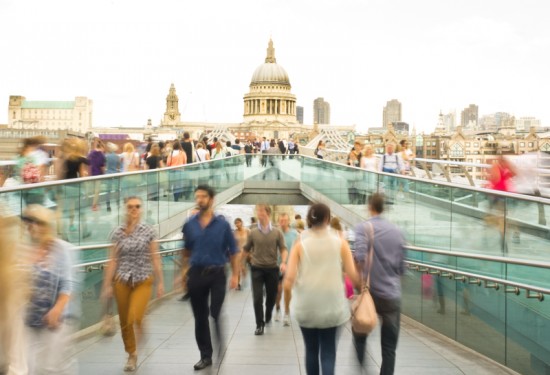
Here is the same photo, taken with different white balance settings. You can see that each has a different ‘temperature’ and colour tone.


One of the advantages of raw files is that you can easily correct the white balance after you’ve taken the photo. The easiest way to do this is to tell your editing application where something white of grey is in the image, and the editing app will correct the white balance in that photo based on that information.
Leave a Reply