Using long exposure techniques gives photographers the ability to transform scenes into magical photographs. Here we show you the skills and equipment behind this rewarding type of photography.
Some Basic Theory Behind Long Exposure Techniques
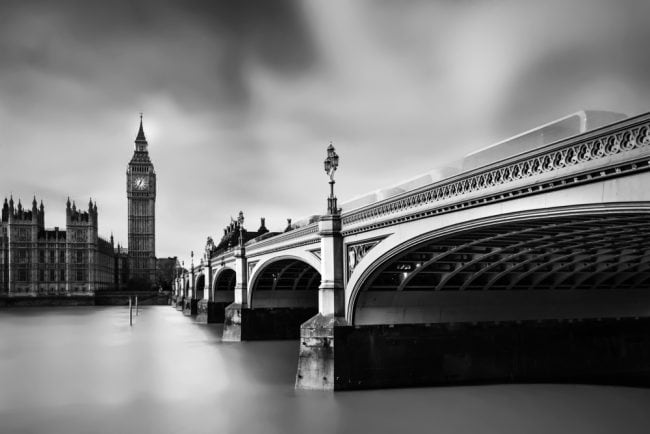
While your shutter is open, you collect light which hits your camera’s sensor and forms an image. How dark or bright that image is depends on the amount of light that hits your sensor. If any movement happens while your shutter is open, this is recorded on the sensor and can be seen as motion blur. In long exposure photography we leave the shutter open for a long period of time so that movement in relatively slow moving things is recorded, often clouds or water are captured in long exposures. Because the shutter is open for a longer period of time, in daylight this would always result in an overexposed image because way too much light hits the sensor. So, we use filters called ND filters to lessen the amount of light captured during a long exposure so that the image does not become over exposed.
Equipment You Need For Long Exposure Techniques
To create long exposures you will need:
- A camera with manual mode
- Memory card
- Battery. Long exposures can drain your battery, so take a spare if you plan a full day of shooting
- Lens. A wider angle lens is useful so you can include lots of sky or water in your image
- ND filter. See the next section for more information.
- Tripod
- Remote trigger. If you want exposures of more than 30 seconds you will need this.
- Something to cover your viewfinder if you have a DSLR. This will prevent light leaks.
- Phone with an ND calculator app and timer
- Filter and lens wipe or cloth
ND Filters
Neutral density (ND) filters prevent a specified amount of light from entering your lens. Good ones should be neutral in colour so they don’t change the tone of your image. ND filters reduce the amount of light by a specified amount. Stronger ND filters reduce the amount of light hitting your sensor by a large amount, e.g. by 10 stops. Others reduce the amount of light by a lesser amount, e.g. 2 stops.
There are two common ways of describing the power of ND filters:
- ND2, ND4, ND8. This describes the fraction by which the light is reduced. ND2 means half the amount of light will hit the sensor, which is a one stop reduction. ND4 means one quarter the amount of light will hit the sensor, which is a 2 stop reduction (1/2 x 1/2). ND8 means one eighth of the amount of light will hit the sensor, a reduction of 3 stops (1/2 x 1/2 x 1/2).
- 1 stop, 2 stop, 3 stop etc. This is probably an easier to understand method of describing ND filters as it is self explanatory. A 10 stop ND filter reduces the amount of light by 10 stops.
Filters can be bought as the circular screw in type which attach directly to the end of your lens. These need to be the correct diameter for each lens, or they can be bought as part of a kit which slot into the end of filter systems. You can also buy graduated ND filters which are stronger on one side than the other so a gradient effect can be achieved.
For daytime long exposure techniques the most useful is a 10 stop (ND1000) filter, so if you’re just going to buy one; get a 10 stop ND filter to start with.
Calculating Exposure
The easiest way to calculate the correct exposure for long exposures is to first download one of the many apps available for your phone. Just search you app store for “ND calculator’ and choose one.
Then, with your camera on your tripod in manual mode and the exposure mode set to matrix or average, compose your image without the filter attached. Set your ISO to 100, and your aperture to F11 (it doesn’t have to be F11, but it’s a good starting point in terms of image quality and depth of field). Adjust the shutter speed until the exposure meter reading in your viewfinder or on your screen is at 0.
An alternative method is to set the camera to Aperture Priority mode, ISO 100, F11, matrix metering and then read the shutter speed that the camera tells you it is going to use as the starting point.
Whichever long exposure approach you use, take the shutter speed that would give you the correct exposure without the filter and enter this into your app in the appropriate field. Then, tell the app which strength of ND filter you are using. Make a note of the shutter speed the app is telling you to use, don’t change any other settings on your camera, put the filter on the lens, and take the photo using the calculated shutter speed.
If your calculated exposure is more then 30 seconds you will have to select Bulb as the shutter speed. This lets you use shutter speeds longer that 30 seconds. Use a remote trigger and stopwatch to control the shutter speed in these instances.
When you compare the histogram from the image taken without the filter at the base shutter speed with the image taken with the filter and the calculated exposure, it should be very similar.
Assess your histogram after every shot. Consider whether you should increase or decrease the exposure. For example, ff you no highlights data showing in your histogram, you may be able to increase the exposure to show more shadow detail without losing any highlight detail
More advanced photographers may want to take exposure readings from specific parts of the image to calculate their exposure and this could be done with spot metering from a mid tone somewhere in the image and calculating from there.
Focusing Technique for Long Exposure Photography
When you put the ND filter on your lens, you suddenly realise it’s power because you can’t see anything through the viewfinder! This is why we need to focus (and compose) the image before putting the filter on the lens. Mirrorless cameras that give a preview on the screen can often overcome this by compensating for the ND filter when you preview the shot.
To focus, choose manual focus and carefully focus the image. If your camera has the functionality use focus peaking to help. Once you have focus, add the filter and take the shot, but take care that you don’t accidentally move the focus ring.
Alternatively you could use autofocus to achieve focus, then when your shot is in focus, switch to manual focus whilst focus is locked, then add the filter and take the shot. This only works for lenses that have a physical focus mode switch.
Light Leaks
DSLR cameras leak some light into the sensor through the optical viewfinder. Usually this is not an issue, but when creating long exposures it can create artefacts in the image. To overcome this cover your viewfinder with its cover or some tape whilst shooting.
How Long Should Your Exposure Be?
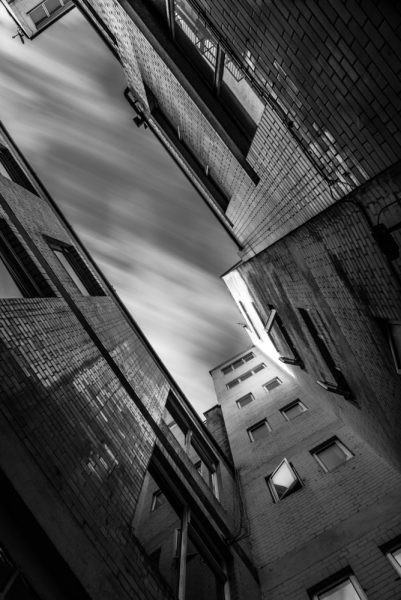
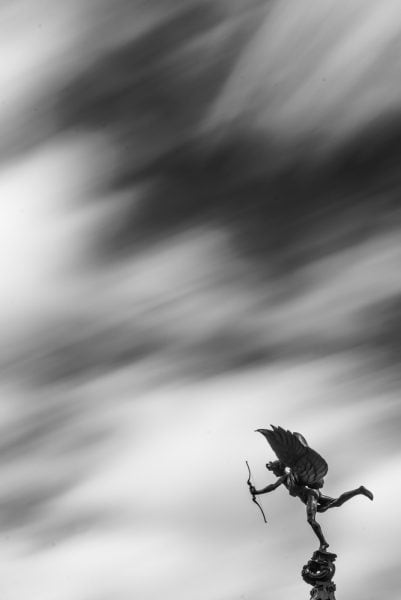
Changing the length of the exposure will influence the end look of the image. If there are clouds blowing through a blue sky, you may find that a shorter exposure of 5, 10 or 15 seconds gives you a better image than 1 minute. But, on a very cloudy day you may find longer exposures of over 1 minute work best. Experiment! To increase or decrease the time, adjust your aperture or ISO accordingly.
When Is A Good Time To Use Long Exposure Techniques?
To us long exposure techniques well, you need to photograph something that has the potential to be transformed by using a long shutter speed. Here are a few scenarios that will give you good results:
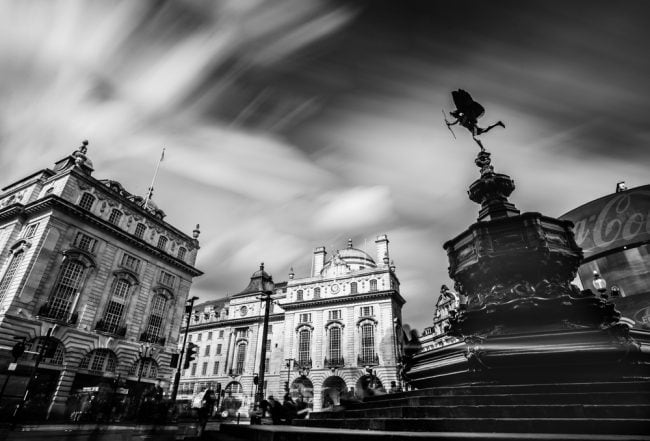
- Clouds moving through the sky, particularly if some blue sky is also visible
- Moving water. Rivers, waterfalls, fountains and waves all look great
- Crowds of people
- Traffic
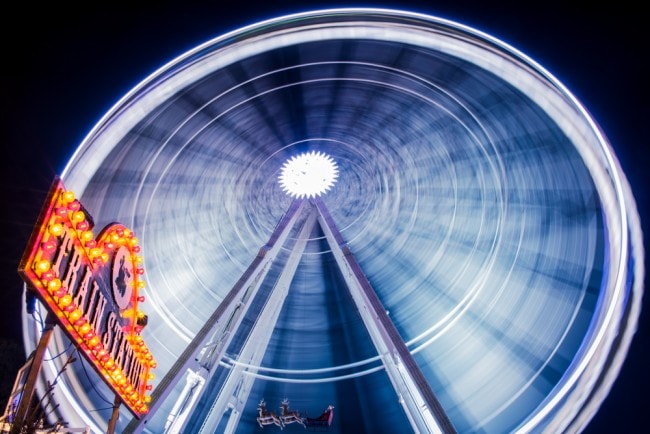
- Fairground rides
If you’re interesting in trying this for yourself, you might like to join our Long Exposure Workshop.
Leave a Reply