A commonly held belief is that the best way to take better street photos is to endlessly wander from place to place with a camera at the ready, shooting from the hip and snatching shots of fleeting moments that randomly happen in a split second before your eye.
That street photography technique may get you the occasional good image over a long day of shooting, however it will also result in missed opportunities and plenty of those nearly, but not quite, great shots.
As in all genres of photography there is no silver bullet that will help you take better street photos. But there are some useful tips and tricks that can improve your street photography. While the most important part of the camera is the brain behind it, the following considerations can be good reference points to improving your street photography.
Spend Time Without Your Camera
When you find yourself in a location that you think will present you with good street photography opportunities, keep your camera in your pocket at first. Spend some time walking around the location and observing. Things you should be looking out for are how the light falls and where it strikes people, where do people interact with others and the environment, how do people move through the place, and where could you create interesting compositions using frames, backgrounds, signs or street art. Don’t worry that amazing shots don’t appear before your eyes. This evaluation of your environment will help you in the next step.
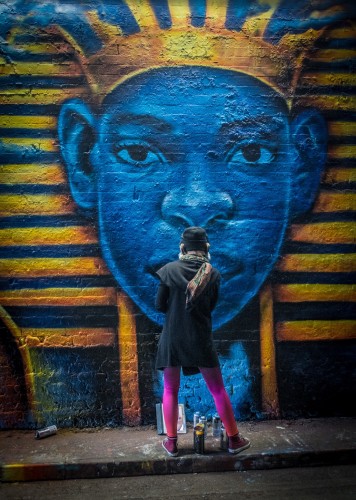
Street photo by Stephen Woollard. Stephen spotted the street art and saw that the shot would be stronger with a colourful character in it.
Pre-Visualise Some Street Photos
Based on your assessment of the location have a think about what would make a great street photos there. Is there a humorous sign that would be a great contrast to a man in a suit, could there be an archway that would look great if someone walked through it, or a puddle that someone might jump over, maybe a shaft of light that could illuminate a passerby? By thinking about what would make a great photo using the knowledge you now have of your environment and the way people behave there, you will start to prepare yourself to capture the fleeting moments as they happen.
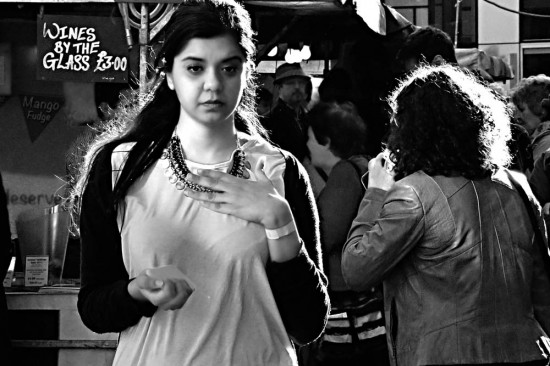
Image by Fedor Pavlov created by finding great light and waiting for the right moment.
Compose Better Street Photos
Now that you know where the best shots are likely to be you can set yourself up to give yourself the best chance of capturing the moment. Compose your photo including the element that’s going to make your great street photo, get your framing right, include and exclude all of the elements you need to in the shot. You might set yourself up opposite a stairway and compose a photo that has interesting framing, or you might set up a photo with reflections in a puddle, or incorporating some street art.
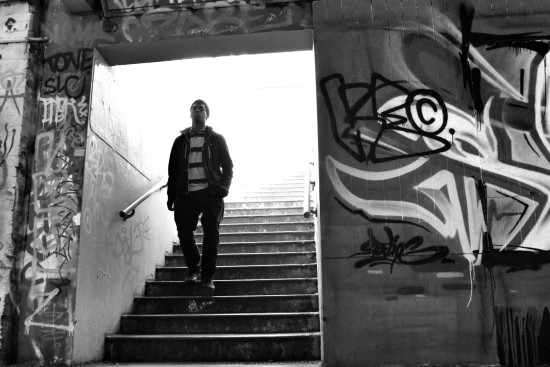
Street photo by Becky Robinson who found a frame, set up her camera, and waited for her subject to appear.
Preparation
After composing the shot you need to get your camera ready to get the photo. Your shutter speed needs to be fast enough to freeze motion so we recommend a minimum of 1/125s, and your exposure needs to be just right to highlight your subject. Finally you should pre-focus on the spot where your subject will appear. Once that’s all done, take a few test shots to make sure it all looks right.
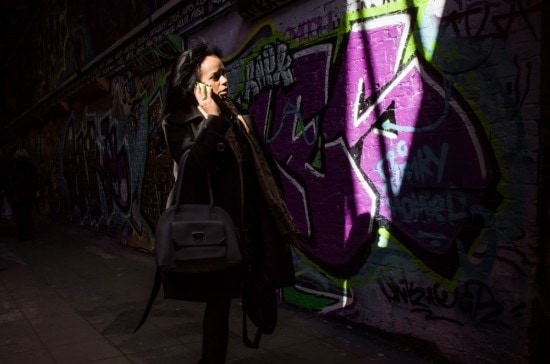
Setting up exposure for the streak of light makes this image work.
Stand Still & Wait
You often need to wait for the right moments to occur. Once you’ve found an interesting composition, with great light, you’ve set your exposure and got it all in focus. Now all you need to do is wait with your camera literally at your eye. You are waiting for that split second in which the girl strikes a pose in the amazing light, or the guy in the suit jumps over the puddle, or the two people look like they are talking to each other on their mobile phones as they pass. These moments are gone in the blink of an eye but you’ll be able to capture them because you are ready. Sometimes the moment never happens, even if you wait all day, but sometime they do. That’s the nature of street photography.
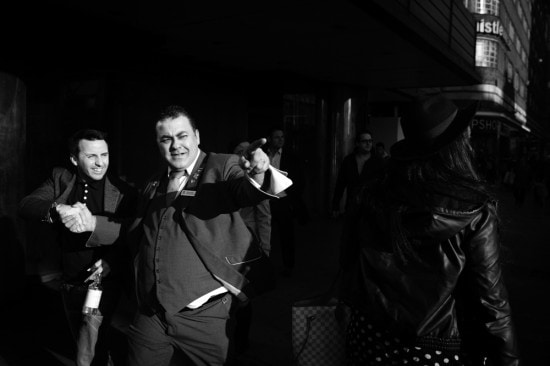
The camera was ready and set up to capture this moment.
Set Mini Projects
When you go out with the intention of taking street photographs, it can be a little overwhelming to know what to photograph. The world is a busy place and to distil the interesting elements out of a scene can often be a difficult task. This is where constraints can nurture your creativity. Before you start shooting, try and think of some ideas or themes and stick to them. While it might seem to inhibit you at first, limiting yourself to certain ideas can unlock tremendous creative possibilities. Some ideas for street photography exercises could be:
- Use a 50mm lens with focus locked at 1mShoot only at f2.8
- Shoot only at 1/15th sec (don’t forget about camera shake)
- Choose a colour and only shoot subjects of that colour
- Include only three elements in your frame
- Find shapes (circles, triangles, squares) to use as frames
- Look for relationships between elements within a scene
- Simplify
Work The Scene
A mistake that people often make is that they only take one or two shots of a scene and then move on. Especially within street photography it’s important to take many, many shots of a scene as it’s constantly changing in front of you. Often you won’t see some elements in an image until you’re looking at them later on so it’s worth applying points 1 and 2 above to a scene and then applying the ‘fishing’ technique. Once you’ve chosen a good location you can set up your composition and simply allow the world to unfold in front of your lens, capturing moments as they happen. You’ll soon gain a psychological advantage in ‘owning’ your space and people will ignore you. This way you’ll soon become invisible and your confidence will increase.
Set & Forget
If the lighting conditions are consistent, shooting in full manual mode will allow you to capture moments very quickly and without having to make any changes to your settings, as long as they’re set accurately to start with. Applying the principle of the deeper depth of field that’s achieved at smaller apertures, at a focal length of between 28mm – 50mm, you can set the focus manually to a distance of say 1.5m and with an aperture of around f11 and the appropriate shutter speed for accurate exposure and a slightly higher ISO (to avoid slower shutter speeds) you can capture reliably sharp and well exposed images of subjects that are within the ‘zone of focus’ which would be roughly at a distance of 1m – 2.5m from the lens.
We practice techniques like this on our Street Photography Course.
[starbox id=admin]
Leave a Reply